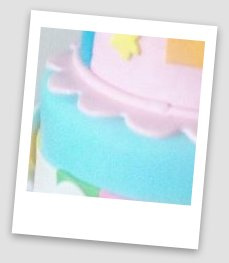
So I know I said I would talk about a cake that I created for a 1 year's birthday but I just finished a cake for a client and I'm just so excited to share it with! What do you make for a little girl who just loves Katy Perry? A Katy Perry Cake of course!
Katy Perry Inspiration Cake
 |
| Front |
2 Tiered fondant covered cake with fondant accents.
Top Tier
Chocolate butter cake with white chocolate/praline filling
Bottom Tier
Vanilla butter cake with pineapple filling
 |
| Left side |
 |
| Right side |
 |
| Back |
First things first. I had to get the cake board ready.


Then there are the cakes, which are such an important part of the cake decorating processes. You need the product to taste good and then you need to level the product. The cake needs to have a straight edge. If the cake isn't straight, the whole thing will be lopsided, including the design.
Below is the tool I originally purchased for leveling. Don't waste your money. I spent $25 on this thing and I only used it once. A professional cake leveler will cost about $300. I ended up buying the Fat Daddio's cake knife for about $15 and it's now my new best friend. You just need to have a steady hand and a good old-fashion level when using the knife. I spent at least 6 hours baking, cooling, leveling and filling cake. Remember after filling a cake, it needs to settle at least overnight.
Once I finished the actual cakes, it was time to start coloring the fondant. Coloring the fondant can be time consuming especially on a cake that has so many colors like this one. You want to be sure to spend extra time on getting the color right. More fondant is always better than less...don't skimp on this dept. Let's just say at the end of this step I had a lot of extra sky blue fondant.
Next is making the decorations for the cake. I knew I needed the fondant to dry out a bit before adding it to the cake so I made the decorations the night before. I still covered them with plastic wrap because I wanted them to be a little flexible so they would wrap around the cake. There were some pieces that needed to be completely dried. The glittered cupcakes were completely dried before I added them to the cake.
Here is a closer look at the some of the accents:
The glittered #10 and cupcakes were made with fondant and edible glitter.
My most favorite part of this cake was the Popsicle. I just loved it and I don't know why. Too bad it was on the back of the cake and no one was really going to see it.
CUTE!!
Thanks for looking. Please feel free to ask questions. :o)


No comments:
Post a Comment